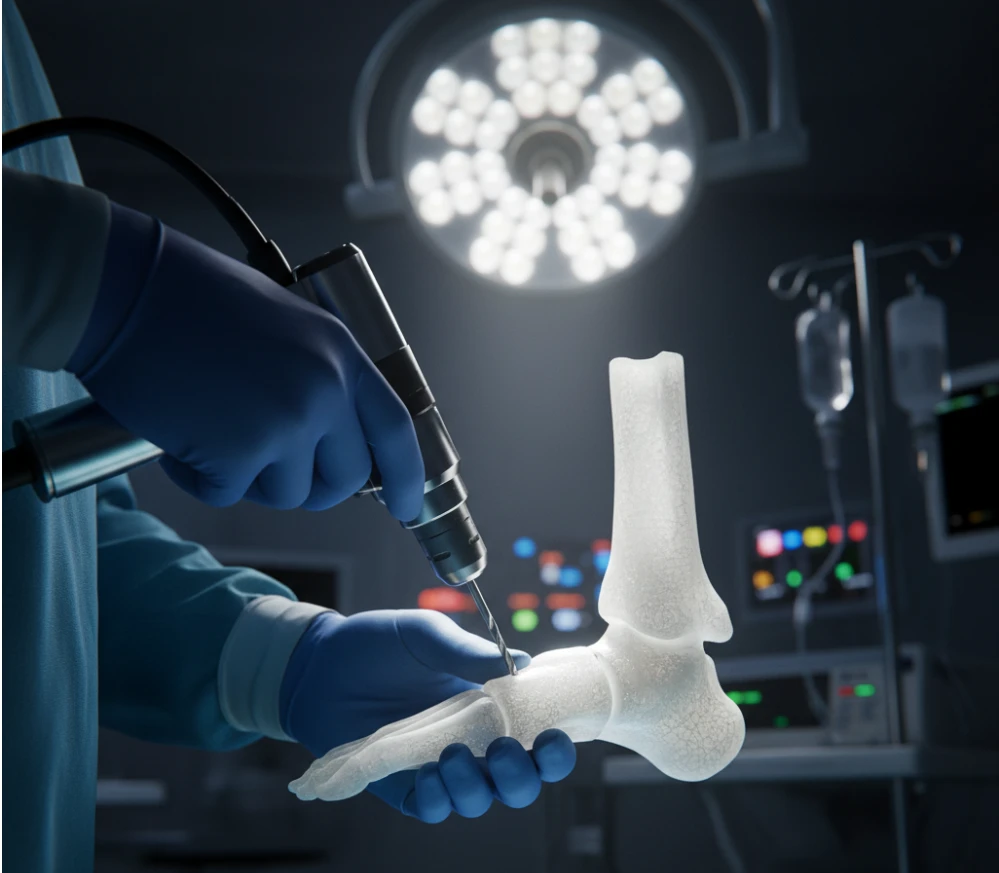
Let’s be honest for a second. Selling the implant is the sexy part of the business. Everyone wants to talk about the fancy titanium Calcaneal H-Locking Plate, the anatomical contours, the low profile… blah blah blah.
But if you’ve been in a trauma OR at 2 AM, you know the truth. The plate is useless if the Orthopedic Instrument Set is garbage.
I’ve seen surgeries go sideways not because the bone was too smashed, but because the drill bit was dull, or the screwdriver stripped the head, or—worst nightmare—the distributor forgot the specific Drill Guide for the locking tower.
If you are a distributor, you are leaving money on the table if you are only pushing plates. The real stickiness, the thing that locks a hospital into buying from you for years, is the instrument kit. Today, I’m going to break down the exact setup needed for Calcaneal H-Locking Plate implementation, why the 3.5mm Locking Screw System is the workhorse you need to master, and how to position OrthoPro as your one-stop shop.
Why the Instrument Set is Your Best Sales Tool
Here is a hard truth: Surgeons don’t really care about the brand of the plate as much as they care about the flow of the surgery.
If you hand them a tray where the Depth Gauge sticks, or the reduction forceps slip, they will blame you, not the manufacturer. Conversely, if your kit is crisp, intuitive, and complete, you look like a hero.
For the Calcaneal H-Locking Plate, the instrumentation is specific. You can’t just throw a generic small fragment set in there and hope for the best. The calcaneus is spongy (cancellous) bone surrounded by a thin cortical shell. You need precision.
The “One-Stop” Strategy
When you pitch to a hospital procurement manager, don’t just quote the plate price. Quote the “Surgical Solution.”
- Plate Only: Low margin, high competition.
- Plate + Consumables + Instrument Rental: High margin, high dependency.
By supplying the full Trauma Surgical Instruments set along with our Calcaneal H-Locking Plate, you prevent the “mix and match” disaster where a hospital tries to use a Stryker screwdriver on a Zimmer screw and strips the head.
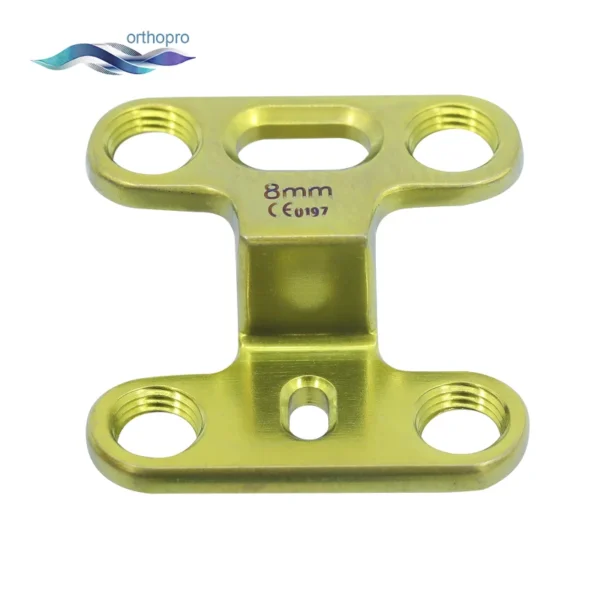
Calcaneal H Locking Plate (3.5mm System) | Minimally Invasive Titanium Heel Fracture Implant
The Calcaneal H Locking Plate is a specialized low-profile implant designed for the minimally invasive sinus tarsi approach to treat complex heel fractures. Compatible with 3.5mm locking screws, this Calcaneal H Locking Plate provides robust stability for comminuted fractures while reducing soft tissue complications. Our H-shaped calcaneal plate ensures anatomical fit and optimal restoration of Bohler’s angle.
The Core Components: A Deep Dive
Let’s break down the kit. I’m not just listing parts; I’m telling you why they fail and what to look for.
1. The Drill Guide (The MVP)
For a locking plate, the Drill Guide is critical. It threads into the plate hole to ensure the drill bit goes in at the exact perfect angle (usually 90 degrees to the plate surface).
- The Problem: Many generic sets have guides that wobble. If the guide wobbles, the screw enters at a slant. When the screw head hits the plate threads, it cross-threads.
- The Result: Cold welding. The screw is stuck halfway in. The surgeon starts sweating. You start praying.
- OrthoPro Solution: Our guides for the 3.5mm Locking Screw System are machined with tighter tolerances. They lock in hard before the drill starts.
2. The Drill Bit (2.5mm and 2.8mm)
For a 3.5mm screw, you usually drill a 2.5mm hole (for the core).
- Warning: If you supply cheap drill bits, they burn the bone. Thermal necrosis means the screw won’t hold.
- Tip: Always have at least 3 fresh bits in every set. Do not let the hospital sterilization department keep using the same dull bit from 1999.
3. The Depth Gauge
It sounds simple, right? It measures the hole.
But in the heel, accuracy is everything. If the screw is 2mm too long, it pokes out the other side into the subtalar joint. That destroys the cartilage. If it’s 2mm too short, it doesn’t grab the sustentaculum tali (the dense bone support).
Our Depth Gauge has a hooked probe designed specifically for small fragment trauma, not the giant hooks used for femurs.
4. Bending Irons
“Wait,” you say, “Isn’t the H-Plate pre-contoured?”
Yes. But human anatomy is weird. Sometimes you need a slight tweak.
Standard bending irons are often too thick for the delicate H-plate. You need “Plate bending pliers” that can grab the plate segments without crushing the locking threads. If you crush the threads, the locking screw won’t lock. Game over.
The Science of the 3.5mm Locking Screw System
I promised some technical meat, so here it is. You need to explain to your buyers why the 3.5mm Locking Screw System is superior to standard screws for the calcaneus.
It comes down to Pullout Strength vs. Shear Strength.
In a standard screw, stability relies on friction between the plate and the bone.
- Friction = Normal Force x Coefficient of Friction
In osteoporotic heel bone, you can’t generate enough Normal Force. You tighten the screw, and the bone strips.
In a Locking System, the stability comes from the screw head threading into the plate. The simplified formula for the strength of this construct (Let’s call it Stability_L) relates to the core diameter and the interface:
Stability_L ≈ (Yield Strength of Material) x (Cross Sectional Area of Screw Core)
We don’t rely on the bone to hold the plate tight against the cortex. We rely on the Angle Stability.
Even if the bone is like butter, the screw won’t toggle because it is structurally fused to the plate.
Why 3.5mm?
- 2.7mm: Too weak for the weight-bearing load of a heel strike (which can be 4x body weight).
- 4.5mm: Too big. It would shatter the remaining bone fragments.
- 3.5mm: The Goldilocks zone. Perfect balance of core strength and thread depth.
Inventory Checklist for Distributors
Don’t be the guy who forgets the T15 screwdriver. Here is a suggested load-out for a standard Trauma Surgical Instruments tray focused on Foot & Ankle:
| Instrument Name | Quantity | Purpose | Insider Note |
| Drill Guide (Threaded) | 2 | Guides drill for locking screws | Must check threads weekly for damage. |
| Drill Guide (Universal) | 1 | Guides drill for cortical screws | Used when “lagging” fragments together. |
| Drill Bit (2.5mm) | 4 | Pilot hole creation | Keep extras. They break. |
| Countersink | 1 | Prepares hole for screw head | Often ignored, but crucial for non-locking screws to sit flush. |
| Depth Gauge | 1 | Measuring screw length | The hook must be sharp. |
| Screwdriver (Star/Torx) | 2 | Driving screws | Star drive strips less than Hex. Always push Star drive. |
| Periosteal Elevator | 1 | Clearing soft tissue | Needs to be sharp to scrape bone clean. |
| Reduction Forceps (Pointed) | 2 | Holding bone pieces together | The “Lobster Claw.” Essential for holding the heel shape before plating. |
| Plate Bending Pliers | 1 pair | Adjusting plate contour | Ensure they fit between the plate holes. |
Sterilization and Maintenance: The Boring Stuff That Matters
You sell the set. Great.
Three months later, the hospital calls. “The instruments are rusting.”
This happens constantly in Latin American and Asian markets where water quality in autoclaves varies.
Our sets at OrthoPro are made from hardened martensitic stainless steel (for cutting tools) and austenitic steel (for guides).
Distributor Tip:
Tell your clients to use ph-neutral detergents. High alkaline cleaners eat the passivation layer of the steel. If you educate them on this, you save yourself a warranty claim later.
Also, check the Drill Guide sleeves. If they get bent (because a nurse dropped the tray), the drill bit will rub against the metal sleeve, creating metal shavings. Metal shavings in a patient’s foot = lawsuit.
Case Study: The “Missing Piece” Disaster
I want to share a story from a distributor in Manila (let’s call him Jay).
Jay was selling a competitor’s Calcaneal plate. He didn’t sell the instrument set; he told the hospital to use their existing “Universal Small Fragment Set.”
Big mistake.
The surgery was a comminuted intra-articular fracture. Complex stuff.
The surgeon went to insert the locking screw.
The hospital’s universal screwdriver was a Hex 2.5mm.
The locking screw required a Star T15.
They didn’t match.
The surgeon stripped the screw head trying to force it. He couldn’t get it in, couldn’t get it out. He had to use pliers to rip the screw out, damaging the plate.
Surgery time extended by 40 minutes.
Jay lost the account the next day.
The Lesson:
Control the environment. If you supply the Calcaneal H-Locking Plate, you supply the tools that drive it. Don’t rely on the hospital’s junk drawer.
The “Upsell” Logic
You are in business to make profit.
An instrument set is a capital expenditure (CAPEX) for a hospital, or a rental fee for each surgery.
- Scenario A (Plate only): Revenue = $300.
- Scenario B (Plate + Kit Rental): Revenue = $300 + $150 Rental Fee.
- Scenario C (Plate + Kit Sale): Revenue = $300 + $4,500 Kit Sale.
Most distributors fear the high price of the kit scares buyers away.
Wrong.
Hospitals have different budgets for “Consumables” (plates) and “Assets” (tools).
Pitch the Orthopedic Instrument Set as an asset that allows them to perform any small bone trauma, not just calcaneal. The 3.5mm system is universal for ankles, distal fibulas, and clavicles.
FAQ
Q1: Can I use this instrument set for other surgeries besides the Calcaneus?
A: Absolutely. That is the beauty of the 3.5mm Locking Screw System. It is the standard for distal fibula (ankle), distal humerus, and clavicle fractures. Buying this set covers about 60% of standard trauma cases. It’s a versatile investment.
Q2: Why do you recommend Star (Torx) drive over Hex drive screwdrivers?
A: Hex drives are squares trying to fit in circles… sort of. The contact points are limited. When you apply high torque to lock a screw, Hex tends to “cam out” (slip). Star drive provides 6 points of contact and vertical sidewalls, allowing much higher torque transmission without stripping. Trust me, once a surgeon goes Star, they never go back to Hex.
Q3: How often do the Drill Guides need to be replaced?
A: It depends on volume, but typically every 1-2 years. The threads on the guide that lock into the plate can wear down. If the guide doesn’t sit 100% rigid in the plate hole, throw it away. A wobbly guide leads to cross-threaded screws.
Stop Losing Operations to Bad Tools
Look, surgery is hard enough without fighting the equipment.
Your job as a partner to your surgeons is to remove variables.
When you drop off an OrthoPro tray, it should be a signal of confidence.
Don’t let a $50 drill bit ruin a $5,000 surgery.
We have the full Orthopedic Instrument Set in stock, calibrated perfectly for our H-Locking Plates.
- Precision machined.
- Star-drive standard.
- Built for the reality of the OR.
Need a quote for the full kit? or just want to chat about which tray configuration moves the fastest?
Contact OrthoPro Here
Email us: info@orthopro.mx